Raspberry Pi Shenanigans
Moisture Sensors
In the summer of '25 in academia we were looking into IoT and experimenting with various things. As I had a spare raspberry laying around, I created a simple program to monitor my Aloe plant. Through research I found out that resistive moisture sensors tend to corrode faster so I bought a capacitive moisture sensor from a local shop. It's manufactured by Grove and the documentation of the sensor is a great place to get started.
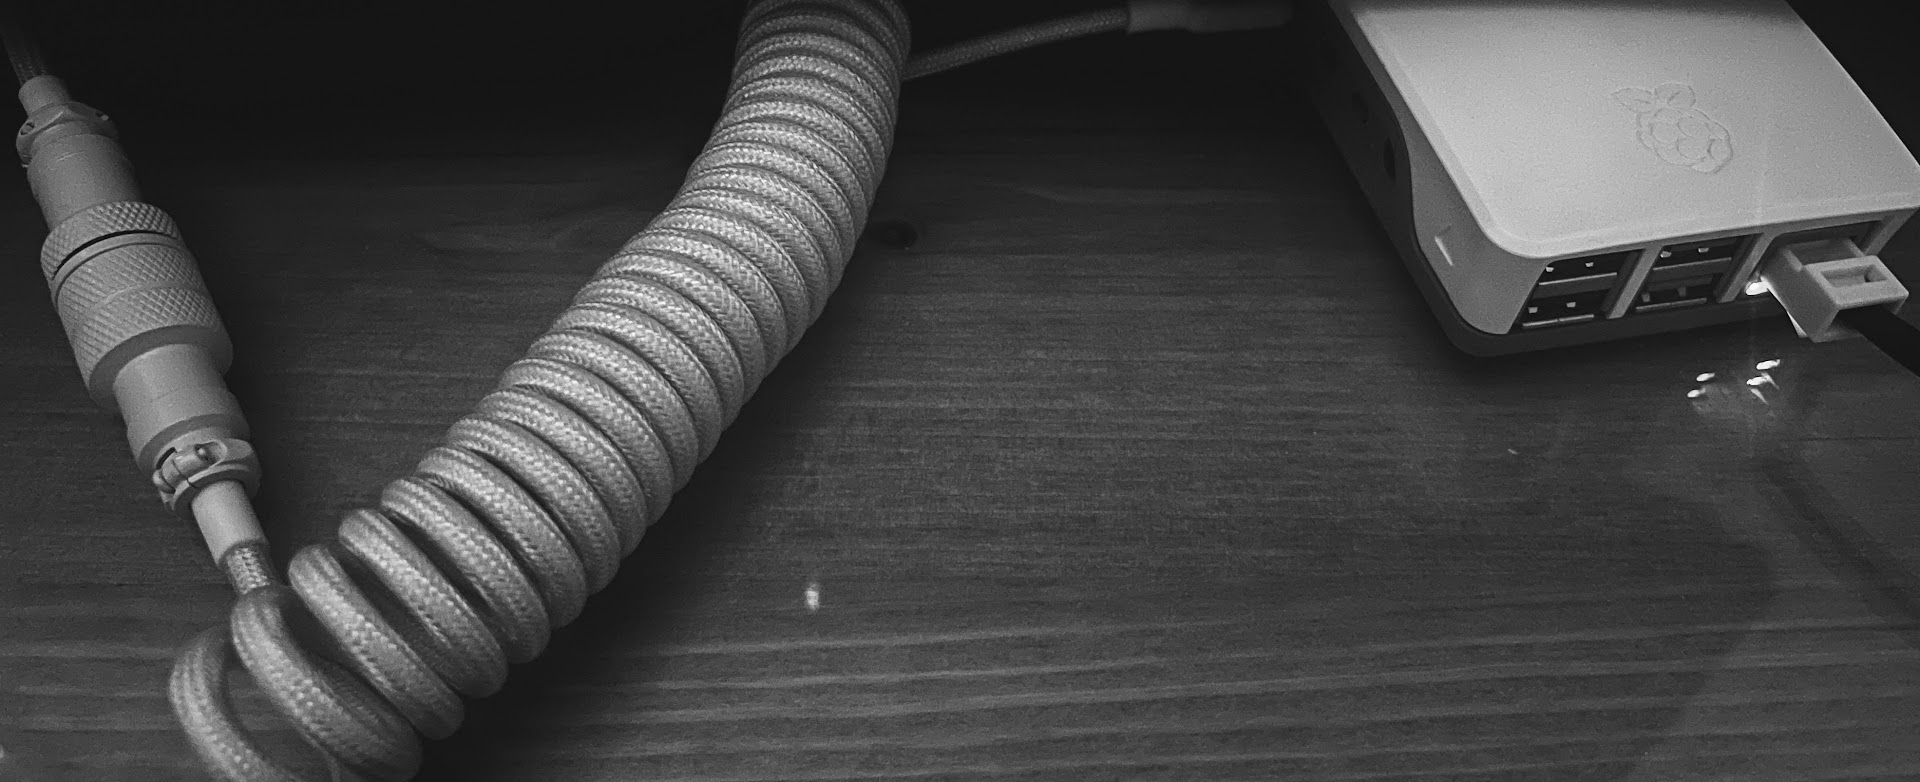
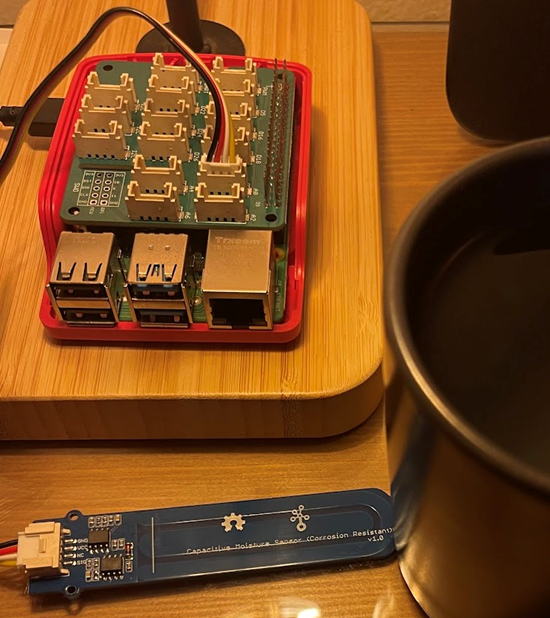
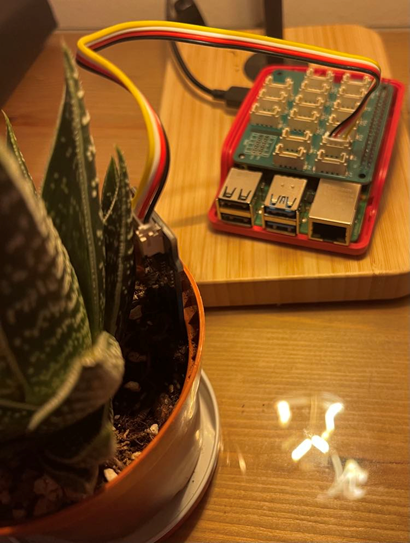
Additionally, I also bought a HAT for my Pi. A HAT or shield is a a component that acts like a hat on your Raspberry Pi. It simply attaches on top of the Pi using the GPIO pins as seen below in the picture. Grove offers documentation for the Base Hat as well.
After setting up everything together, I connected the sensor to A0 of the HAT in order to read analog signals from the sensor.
Using the Sensor with Python
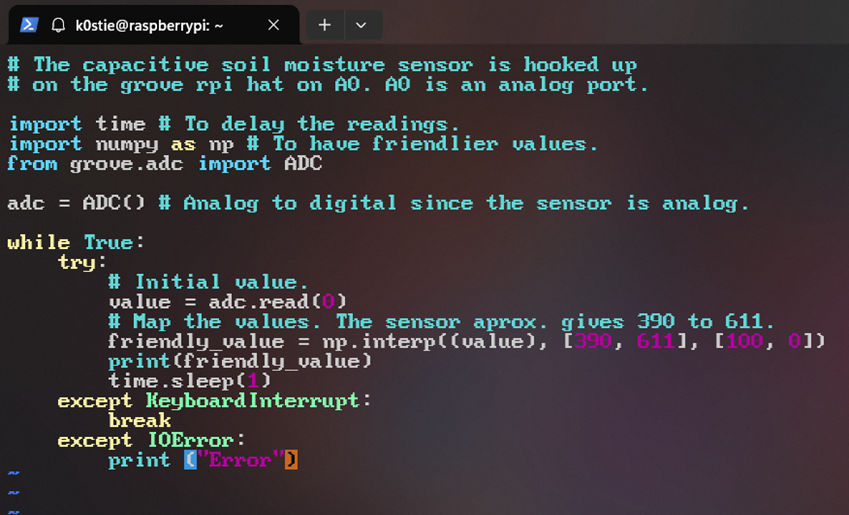
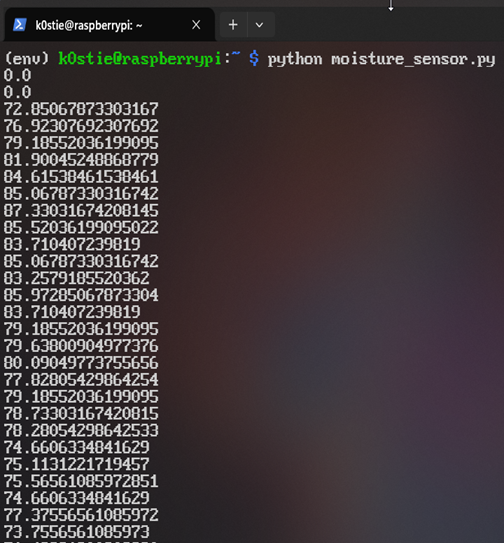
The program is rather simple. We import time, numpy and ADC from the grove.adc library. Afterwards, we create an adc to use it in a loop that reads the sensor that in turn maps it to readable friendly values. It sleeps between readings to send less data as a reading every second is adequate for an experiment.
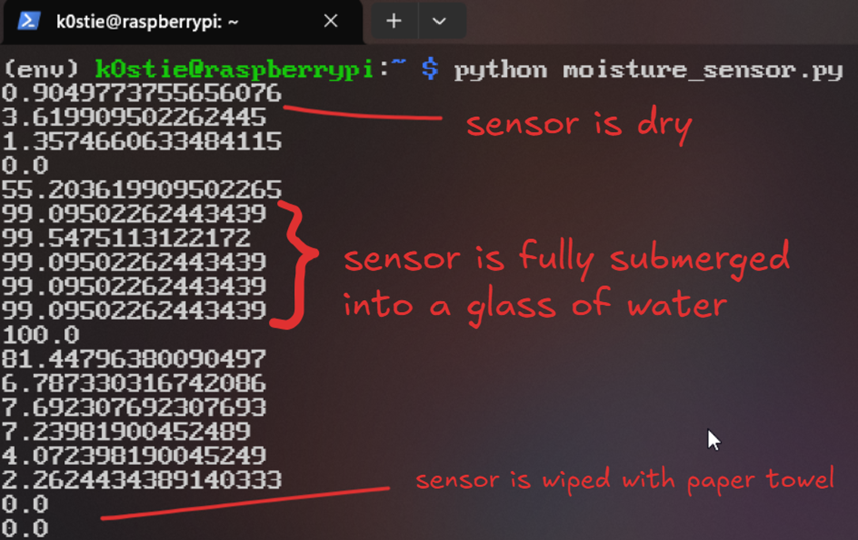
The sensor initially is dry. When the sensor is submerged into a glass of water, the reading instantaneously jumps to a value of almost a hundred. In the last lines the sensor was wiped with a paper towel.
Incorporating an Aloe Plant
Beneath you can see the setup with a plant of Aloe.
When the plant is watered the sensor jumps instantly to a high moisture reading when it detects water and starts gradually decaying to a lower number. After roughly five (5) minutes the value had dropped to a reading of approximately 60.
Reviving the Pi for a Learning Platform
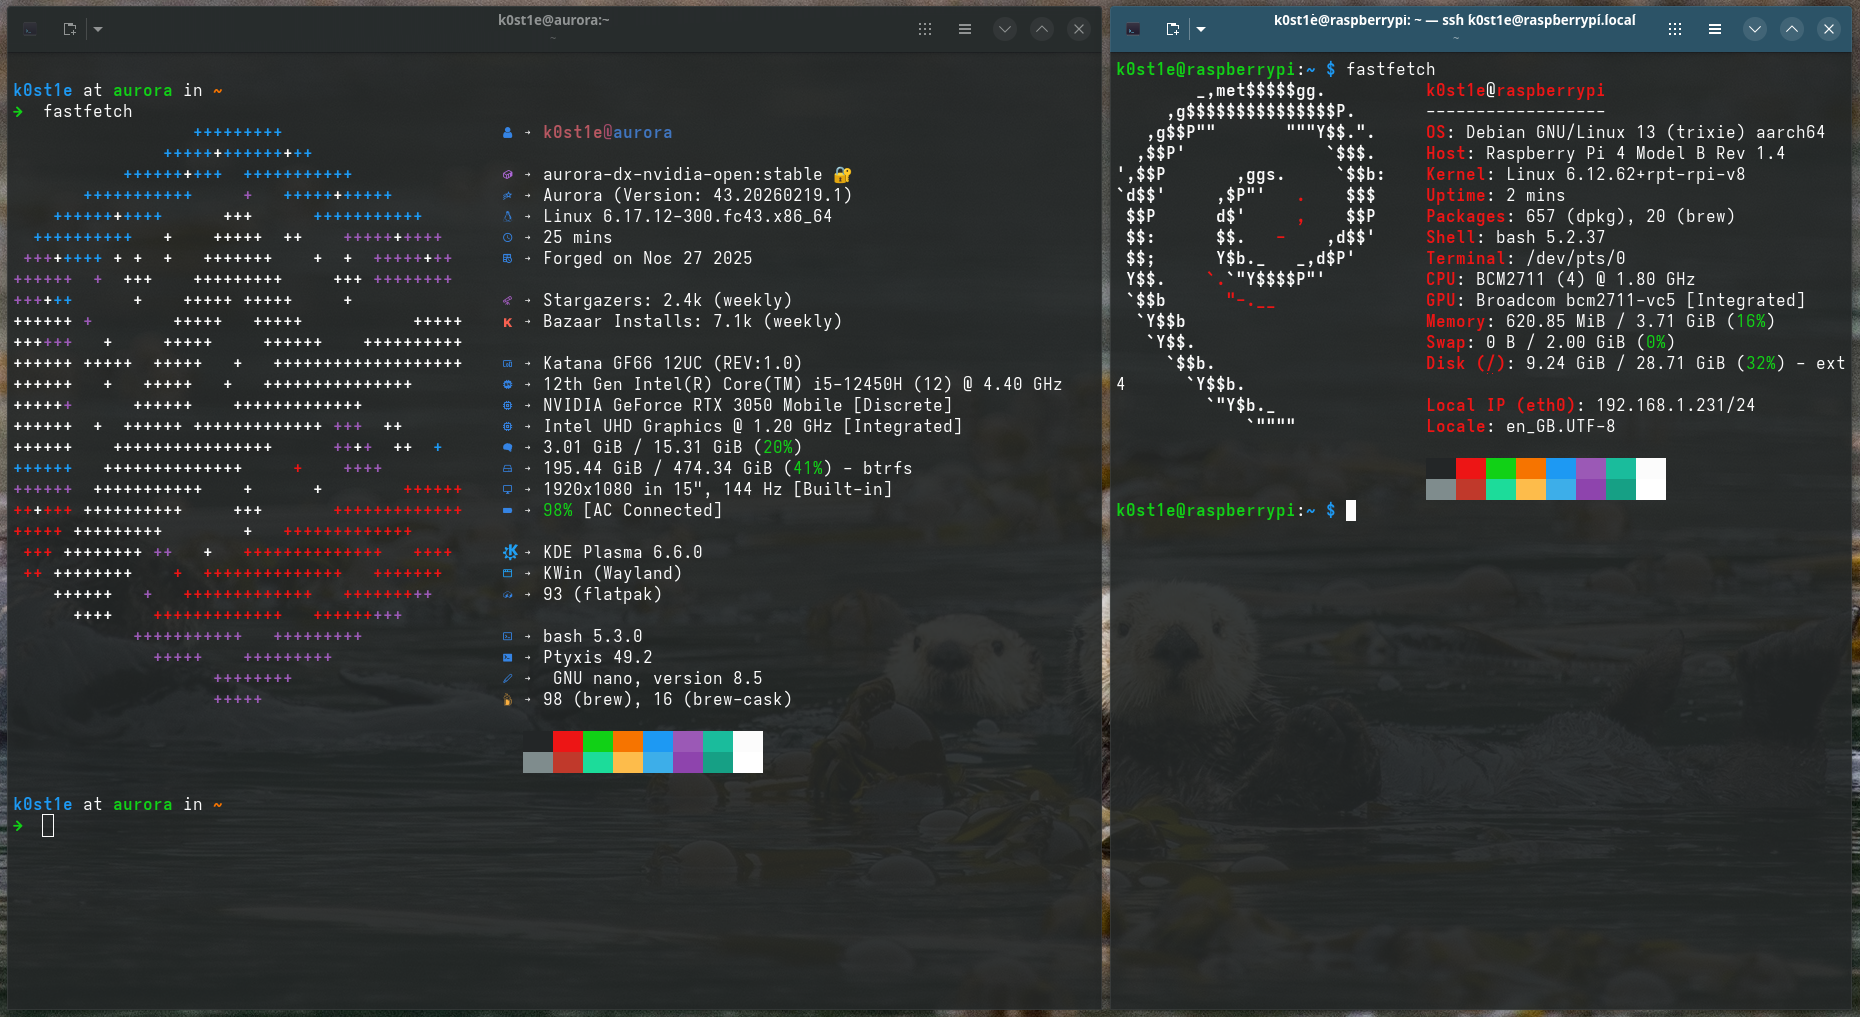
I wanted to be able to have a bare-bones Linux platform to interact with it using SSH from my workstation. I went ahead and installed the recommended OS for Raspberry called Raspbian which you can easily do so with an application named Raspberry Pi Imager.
This time I encountered a little problem though. When installing an OS with that particular application there is an option to enter additional information such as your home's Wi-Fi internet SSID, credentials and SSH options for headless setups.
SSH setup unfortunately did not work and after skimming through some forums I found out you can simply provide a file named userconf into the boot partition with the username and password which ultimately proved to be a success!
Post-installation and Docker
After successfully accessing the Pi via my laptop, I installed various little tools such as vim, homebrew and helpful terminal tools to make my life easier. Docker installation was a breeze as Docker provides an installation method of a "Convenience Script". Although, running scripts off the internet is never a good idea so caution is needed. Lastly, I configured to run Docker without root privileges and using systemctl I altered the service to run when the the Pie boots.
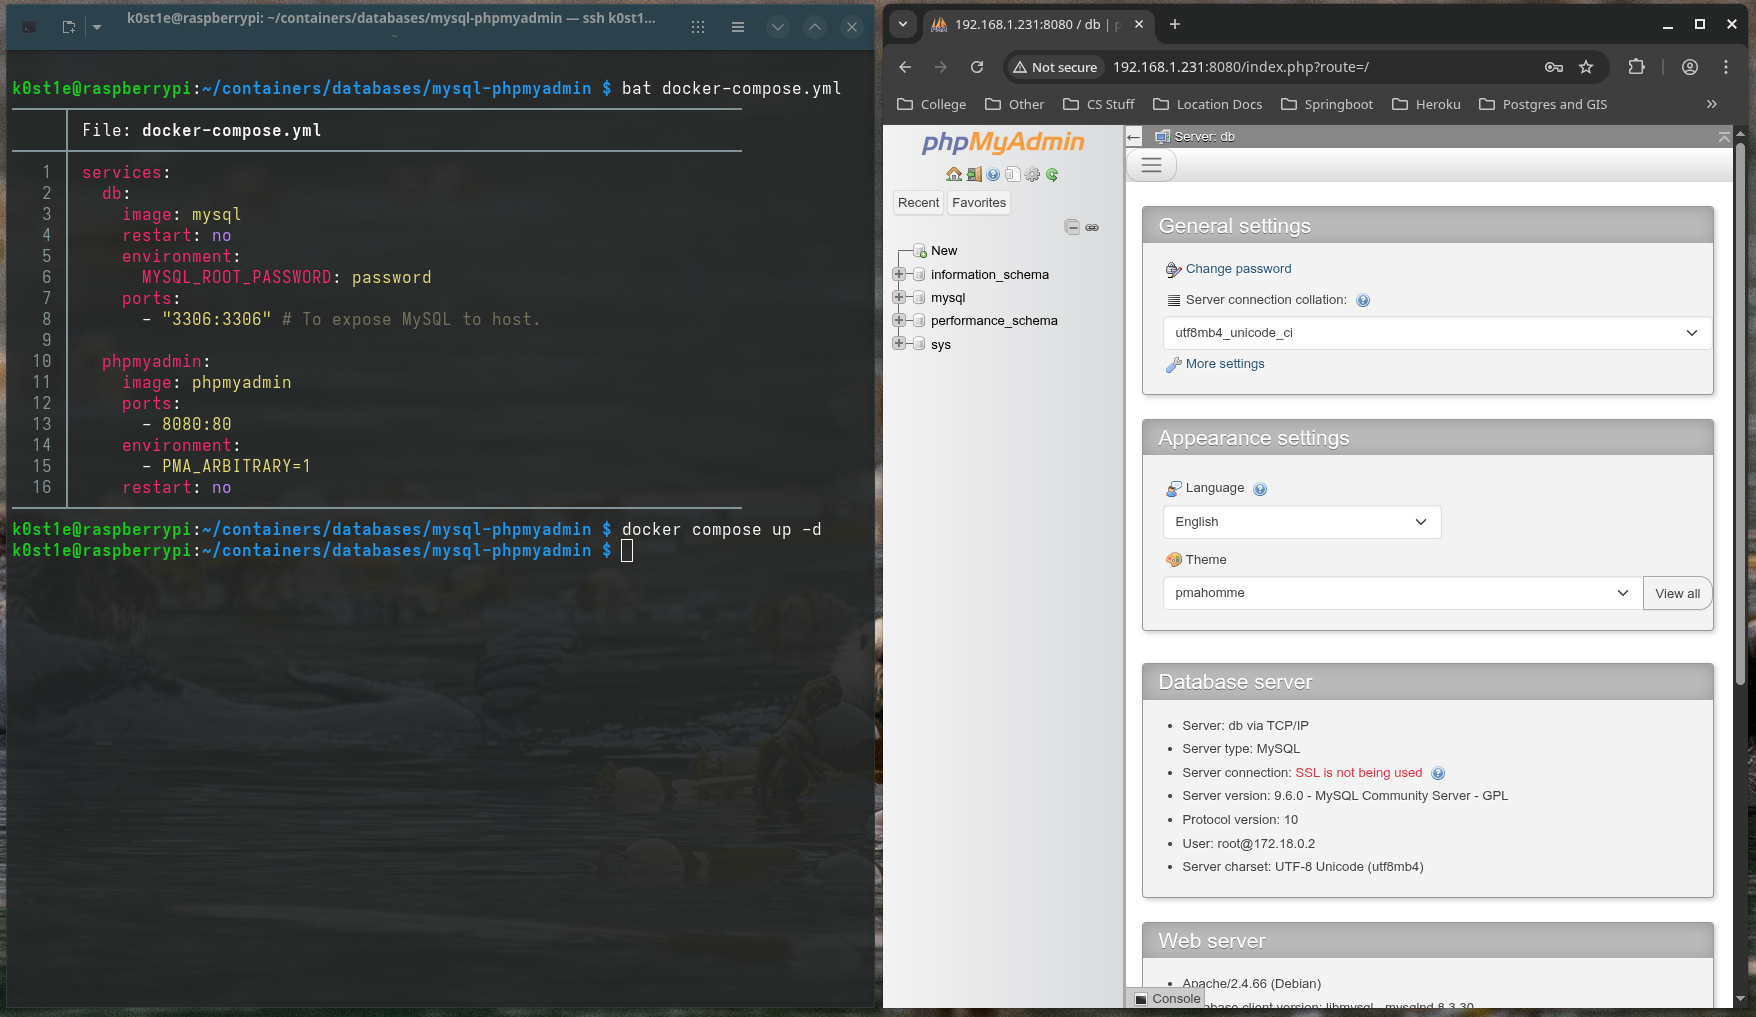
I went ahead and used compose to create a simple setup of MySQL and phpMyAdmin as seen below. Documentation on how to setup compose with MySQL and phpMyAdmin can be found on Docker Hub which is linked at the end of the post!
💡 You can run compose detached to continue using the terminal with the small flag of -d!
Kubernetes and Future Learning
I have always wondered what Kubernetes is about as I had stumbled upon that name a handful of times when I was initially learning about Docker but I didn't really read anything about it until now.
I skimmed around the internet and found out about k3s which is a kubernetes distribution suited for IoT. Although for learning purposes it would be better to have a cluster of Pies to learn better. As such I will be experimenting with Kubernetes in my laptop to learn the inner workings.
References
- Grove Capacity Sensor Documentation
- Grove Base Hat Documentation
- Raspberry Pi Remote Access Documentation
- Convenience Script Documentation
- Docker Post Installation (systemctl + non-root)
- Docker mysql Image
- Docker phpmyadmin Image
That's all folks. Thanks for reading!